How to Make Greek Yogurt from Scratch
Making greek yogurt from scratch is one of my favorite kitchen hacks that saves money, feeds my family, and feels like an old fashioned skill. Homemade yogurt surpasses store bought options in quality, texture, and taste every time, making it an easy choice to make this staple at home.
We eat a lot of yogurt in our home. Whether for breakfast with fruit and granola, in salad dressings, sauces, marinades, smoothies, and so many other things!
When I first started making yogurt from scratch many years ago, I couldn’t believe how simple it was to make. Add to that the cost savings of making quality yogurt from scratch and I was sold.
There is something so satisfying and grounding about pulling a jar of homemade yogurt from the fridge and turning it into many delicious things in the kitchen.
Homemade yogurt isn’t complicated, it’s just about adding the rhythm into your days, and I can’t wait to show you how!
Why learn to make yogurt from scratch?
It is deeply nourishing
Packed full of protein and beneficial probiotics, it’s a wonderful food to regularly incorporate into your diet. When you make it from scratch, you also control exactly what goes into it – no added sugar or unnecessary fillers – leaving you with a deeply nourishing, versatile food.
It saves money
You can easily spend $5+ on a 32oz tub of quality greek yogurt in the grocery store. At the time of this writing, I just purchased a gallon of milk for $2.33 and I will easily get 2 quarts of yogurt out of this, maybe more. That makes a quart of homemade greek yogurt $1.16!
It reduces what you bring in
This one may be small, but I love the simplicity of not having to buy one more thing or deal with leftover plastic containers. It means when I run out, I make more, not another grocery trip. You also don’t have to deal with added thickeners, sugars, fillers, or other ingredients you’d rather not consume.
It feels old fashioned
Lastly, and this will mean more to some than others, but I love how the process of making yogurt harkens back to simpler days when more foods were grown, harvested, and prepared at home. It gives Ma Ingalls vibes in all of the best ways.
Supplies you’ll need to make yogurt
Here’s the thing: you absolutely don’t need a fancy yogurt maker to make yogurt at home. In fact, I’ve never used one and I have no interest in having one more thing. If that’s your jam though, I’ve heard good things about this one.
What you’ll need:
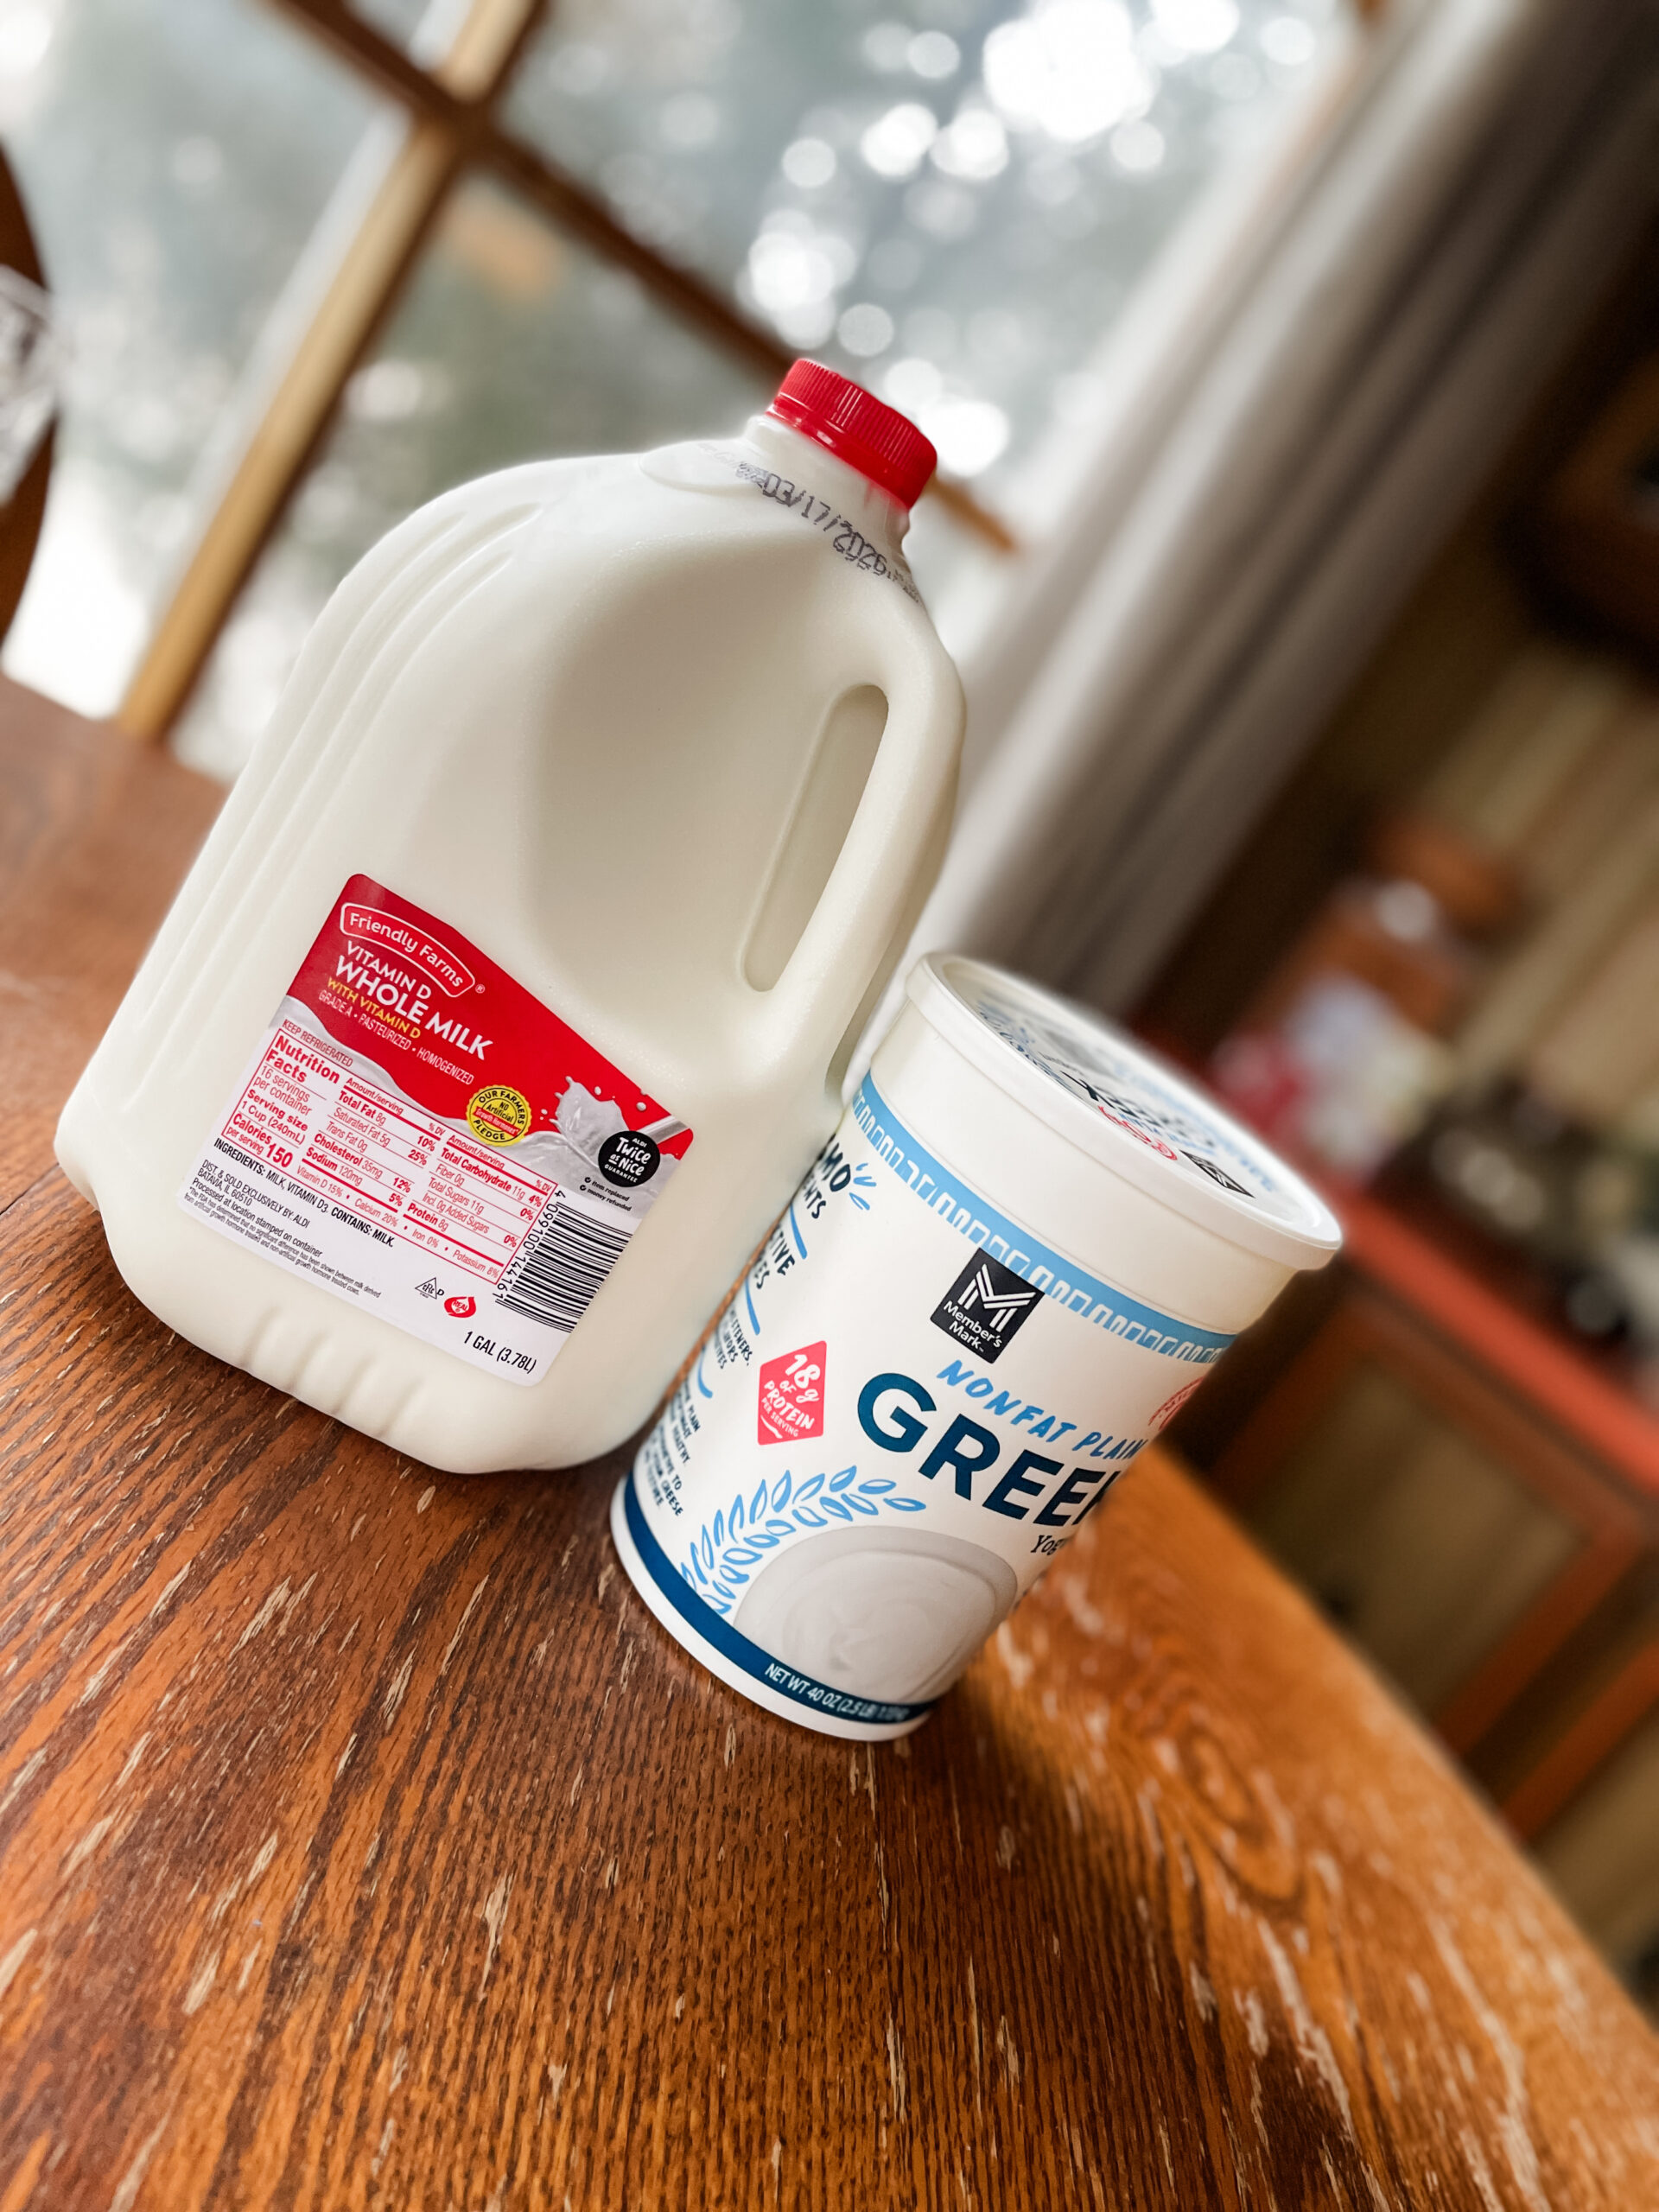
- Whole milk. Makes a creamier yogurt and has more protein.
- Plain greek yogurt. Make sure it has live active cultures. OR use a yogurt starter culture.
- Heavy bottom pot or crockpot.
- Thermometer. Instant read is my favorite.
- Glass jars or containers.
- Hand mixer or immersion blender.
- Tea towels or cheesecloth bag. I like the tea towel method over a strainer.
- Large measuring cup.
- Strainer.
- Warm place. Oven with the light on or a hard sided cooler work well.
The process for making greek yogurt at home
Step 1: Heat the milk
You’ll start by pouring one 1/2 gallon of milk into a heavy bottom pan or crockpot. Heat the milk to 180℉ , but don’t let it boil.
Step 2: Cool the milk
Allow the milk to cool to 110℉. This step is important. If the milk is not cooled enough and you add the yogurt starter, the heat could kill the live cultures and your yogurt won’t set.
Step 3: Add the starter
Once the milk has cooled, whisk the yogurt into the warm milk.
Step 4: Incubate the warmed milk
The warm milk mixture will need to be kept warm for 8-10 hours or until it has set. There’s a few ways you can do this:
- In the oven with the light on
- In a hard sided cooler
- Yogurt setting on an instantpot
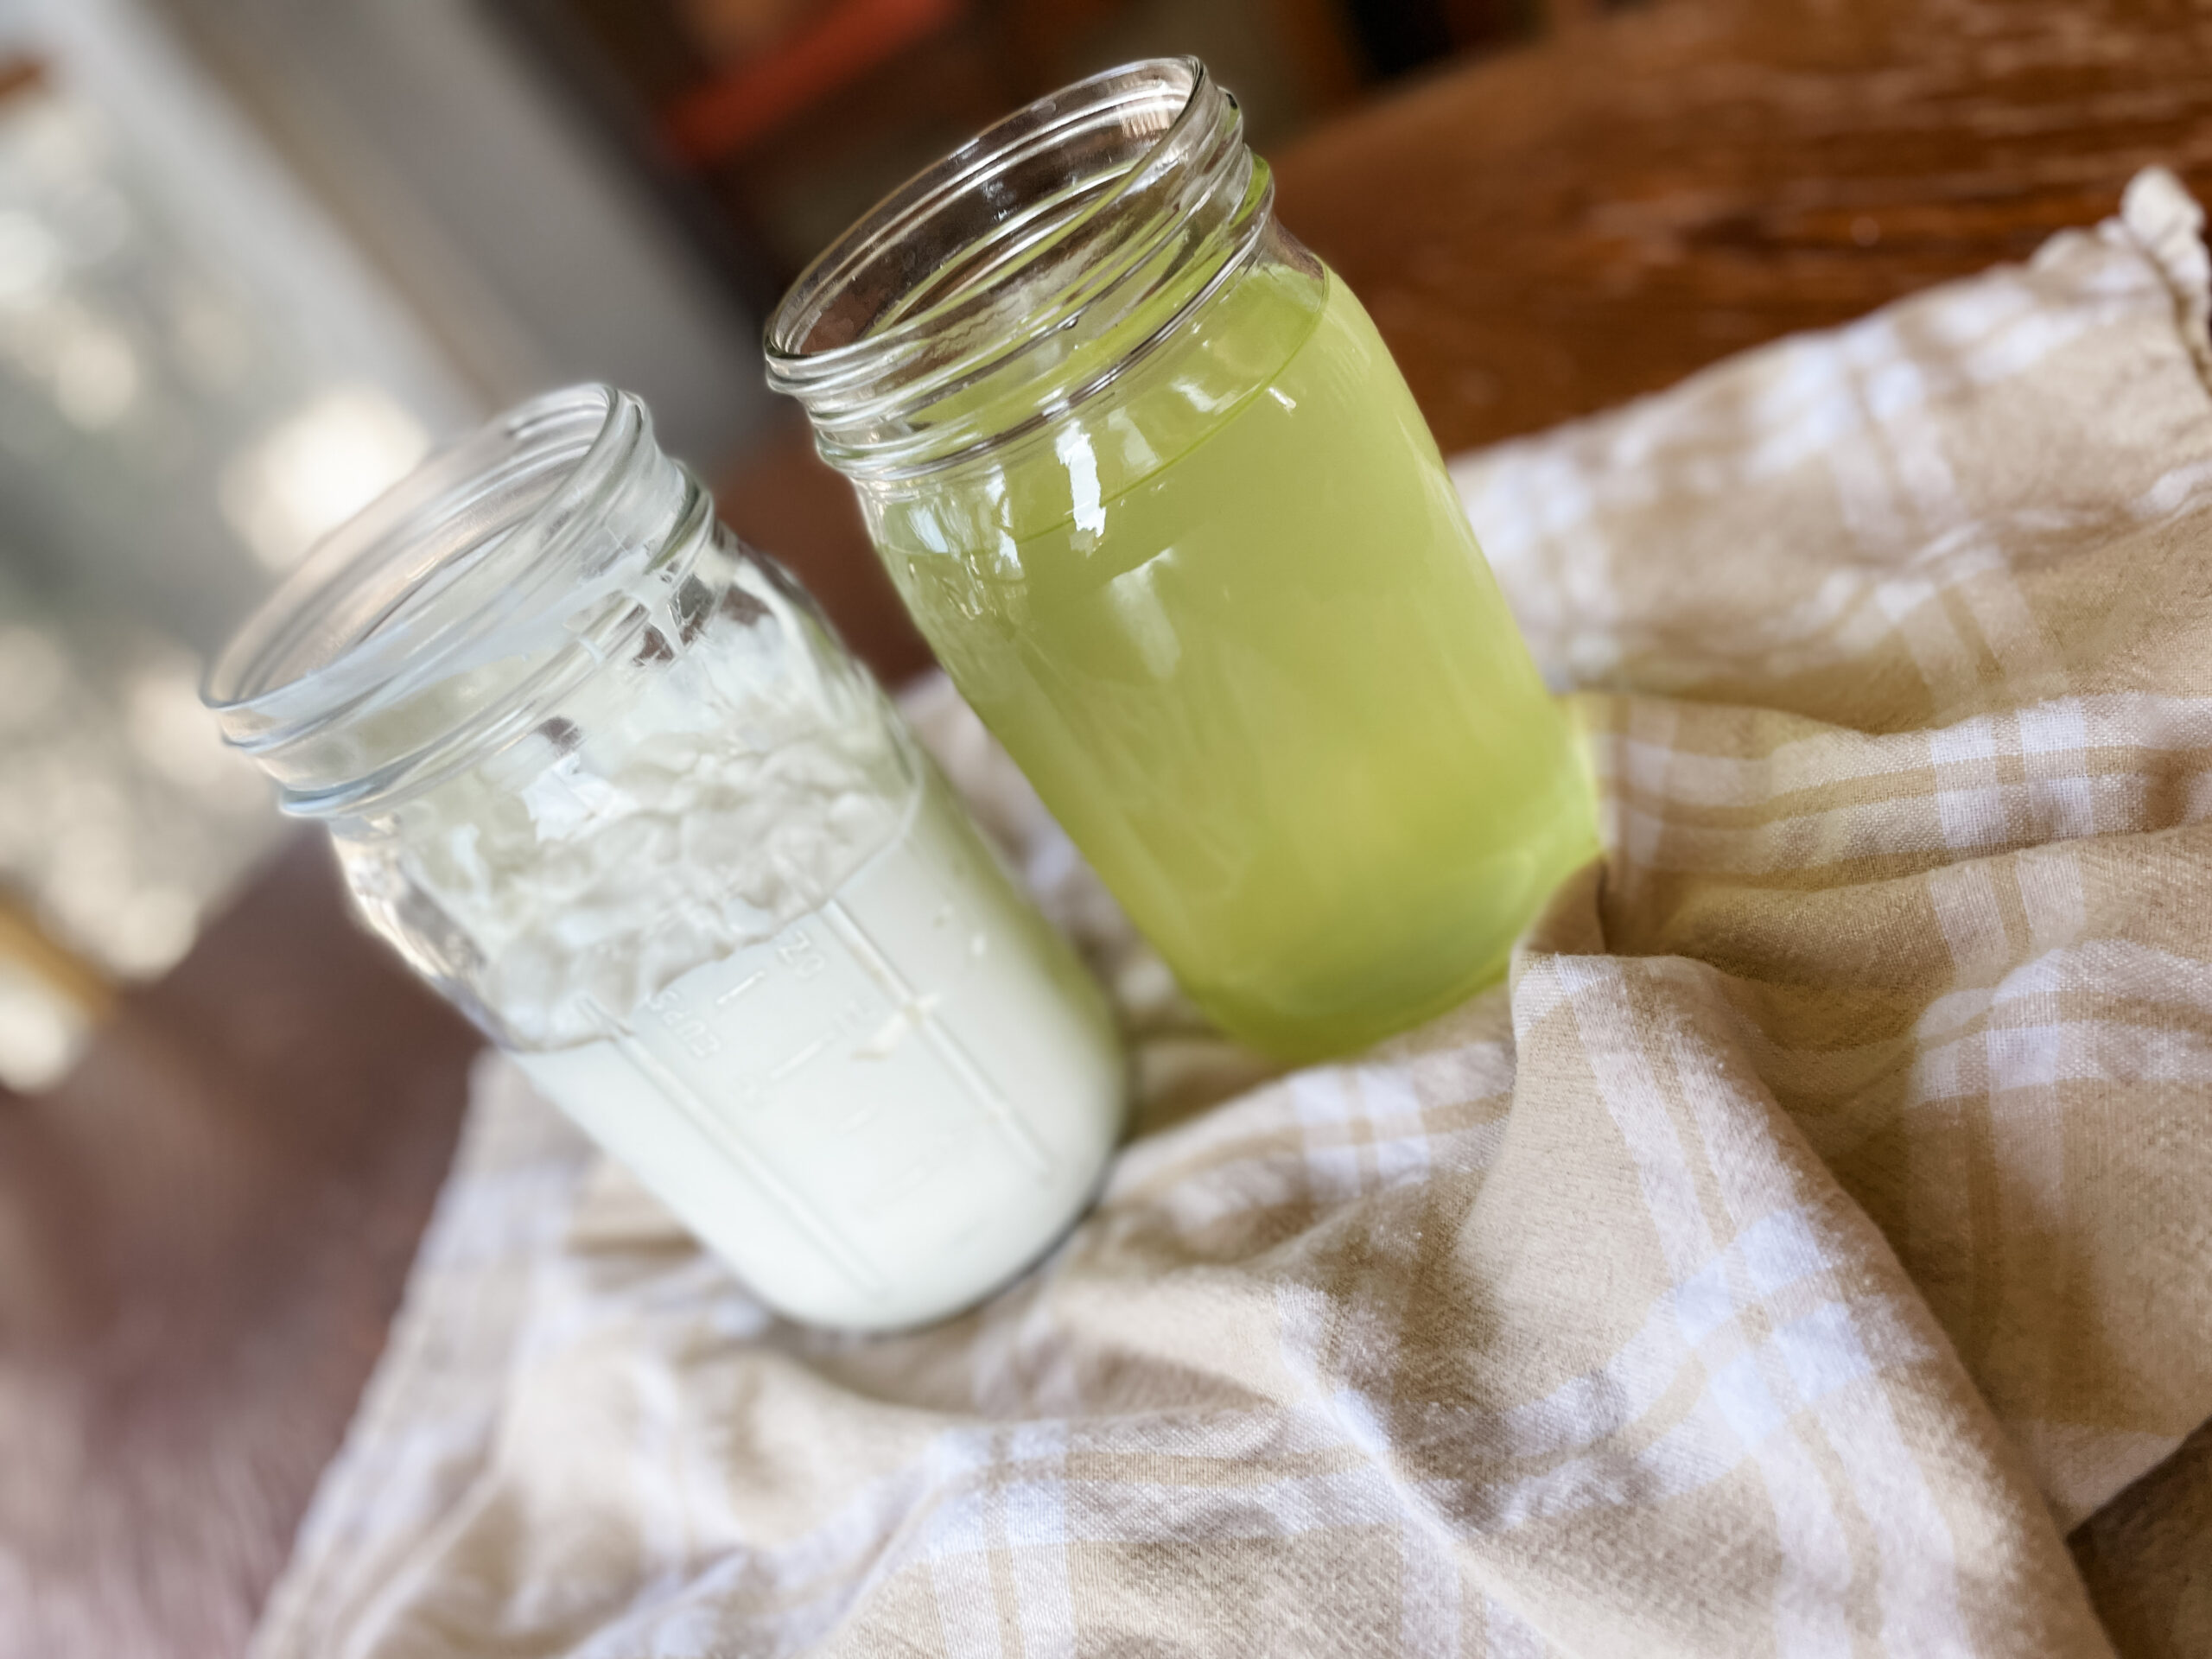
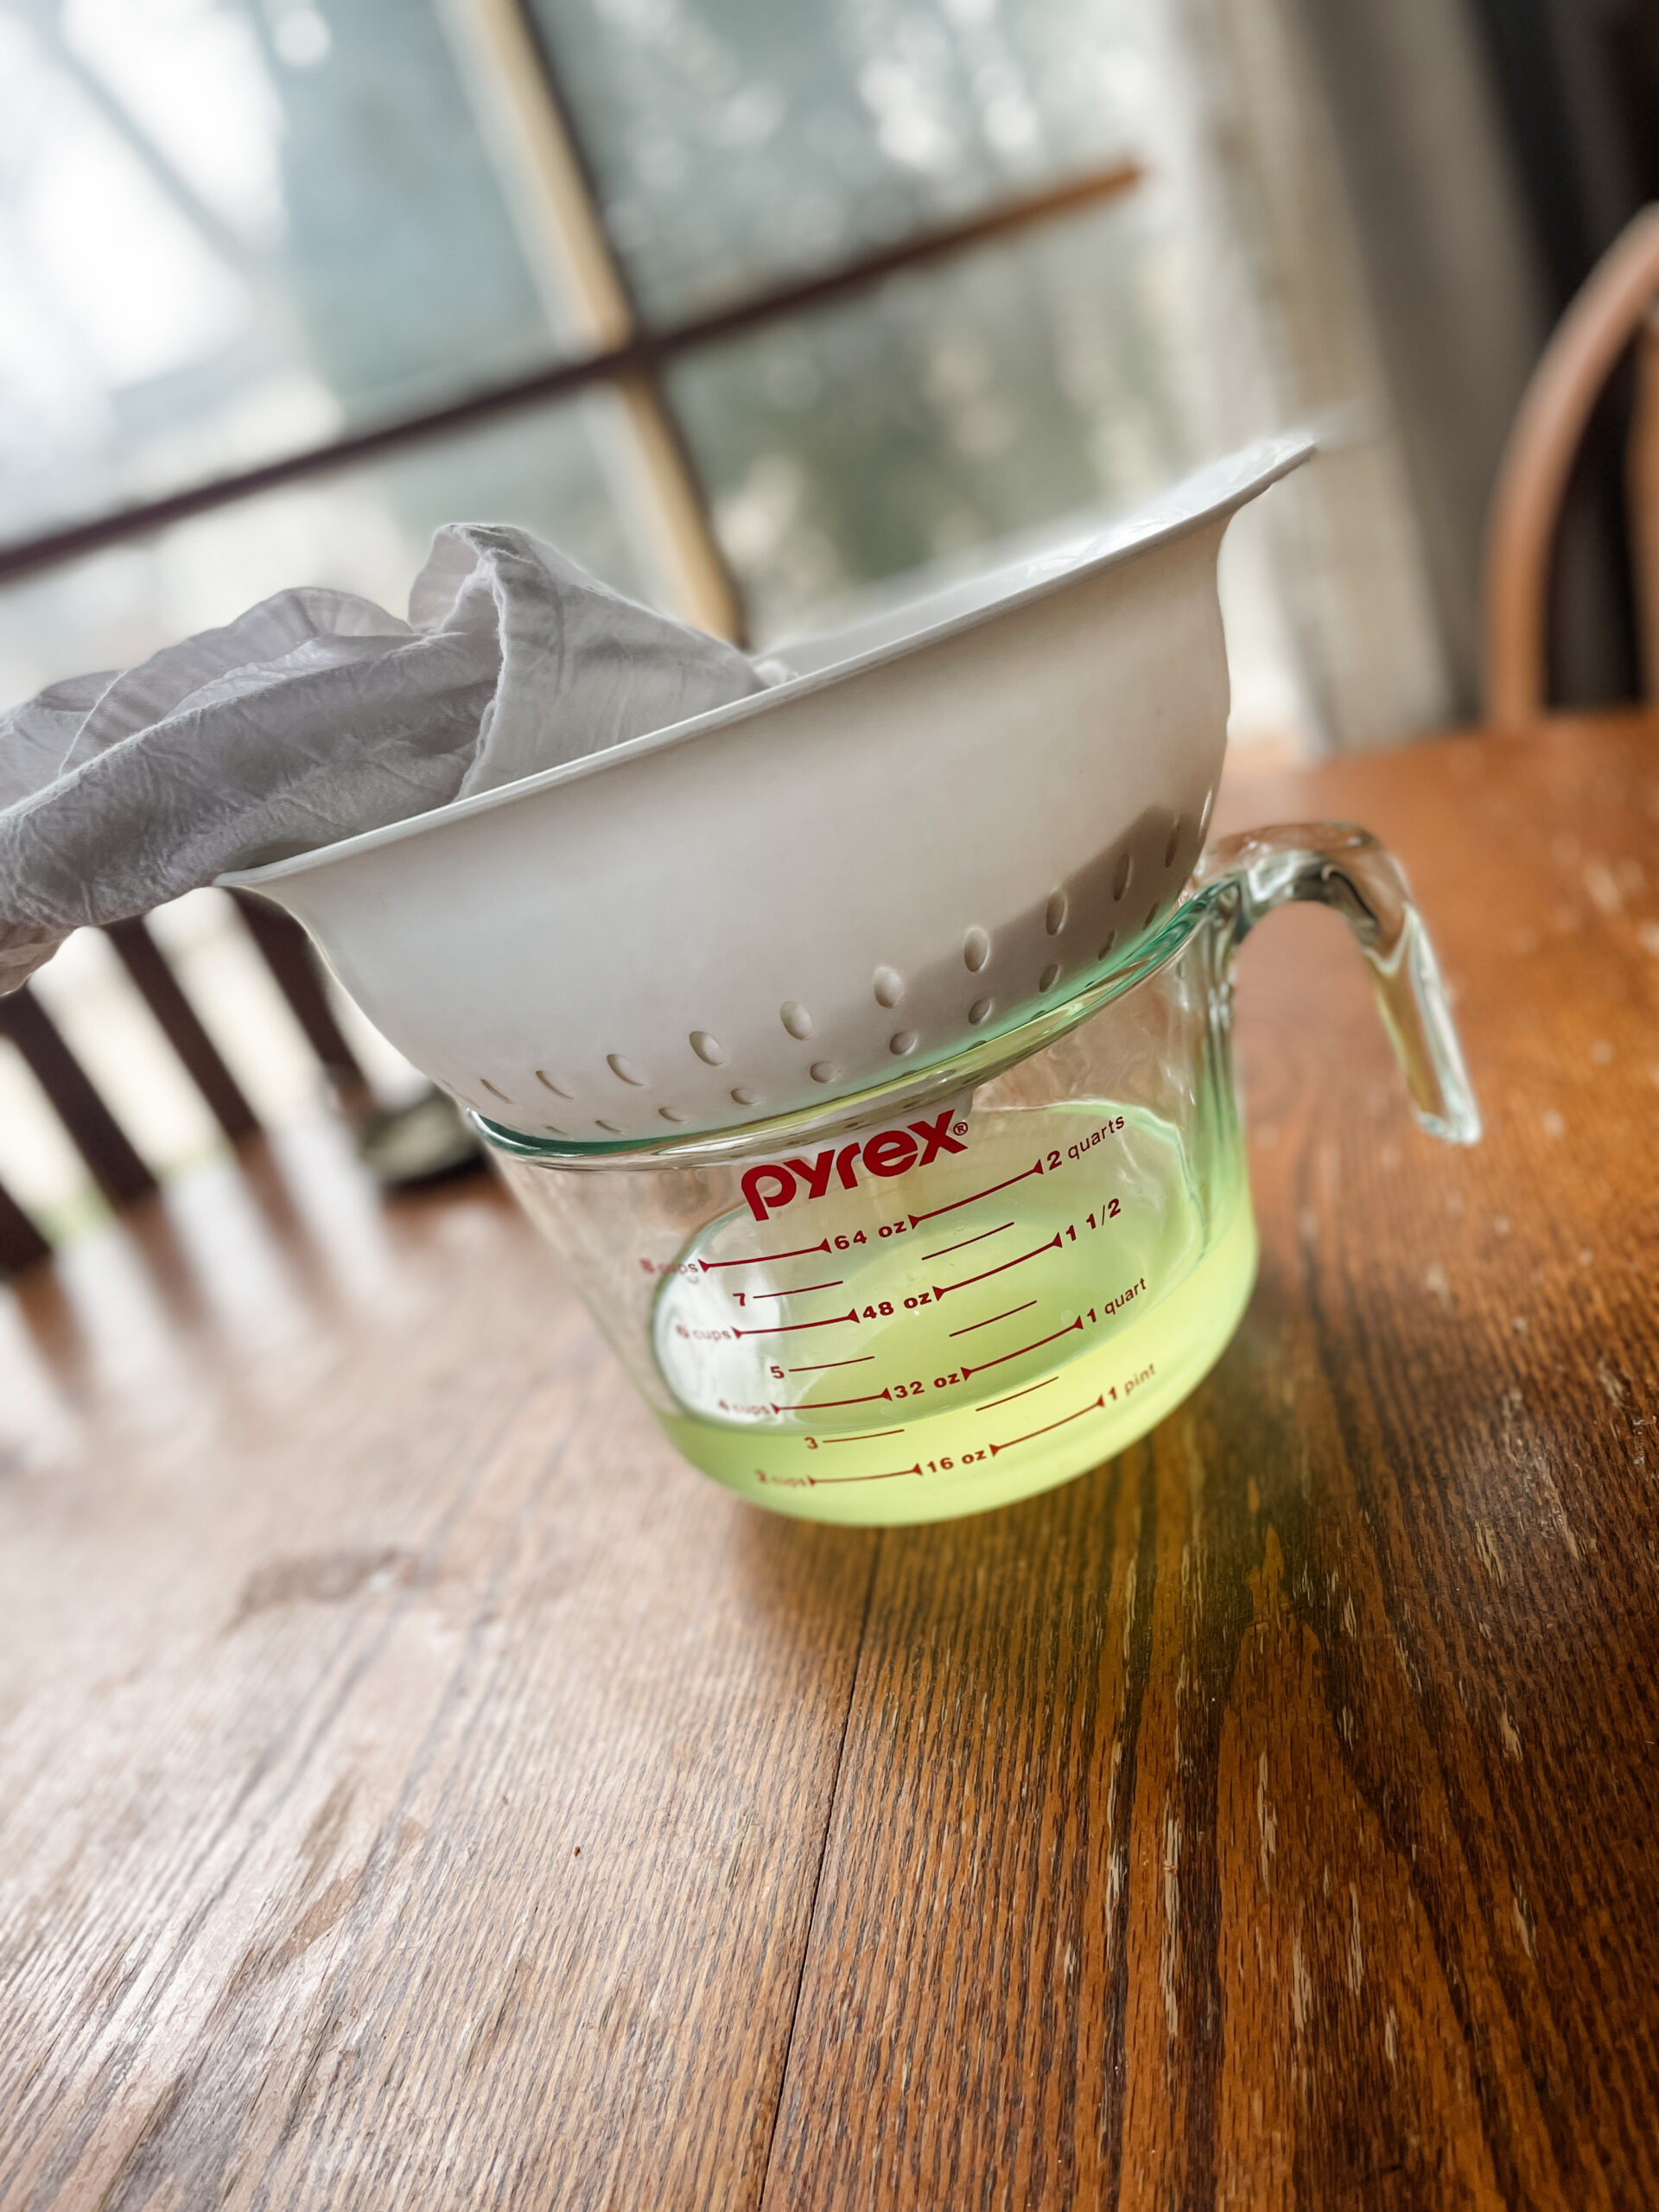
Step 5: Strain the yogurt and chill
This step is technically optional, but I like to strain our yogurt to make it a touch thicker. You can always whip the whey back in if it gets too thick.
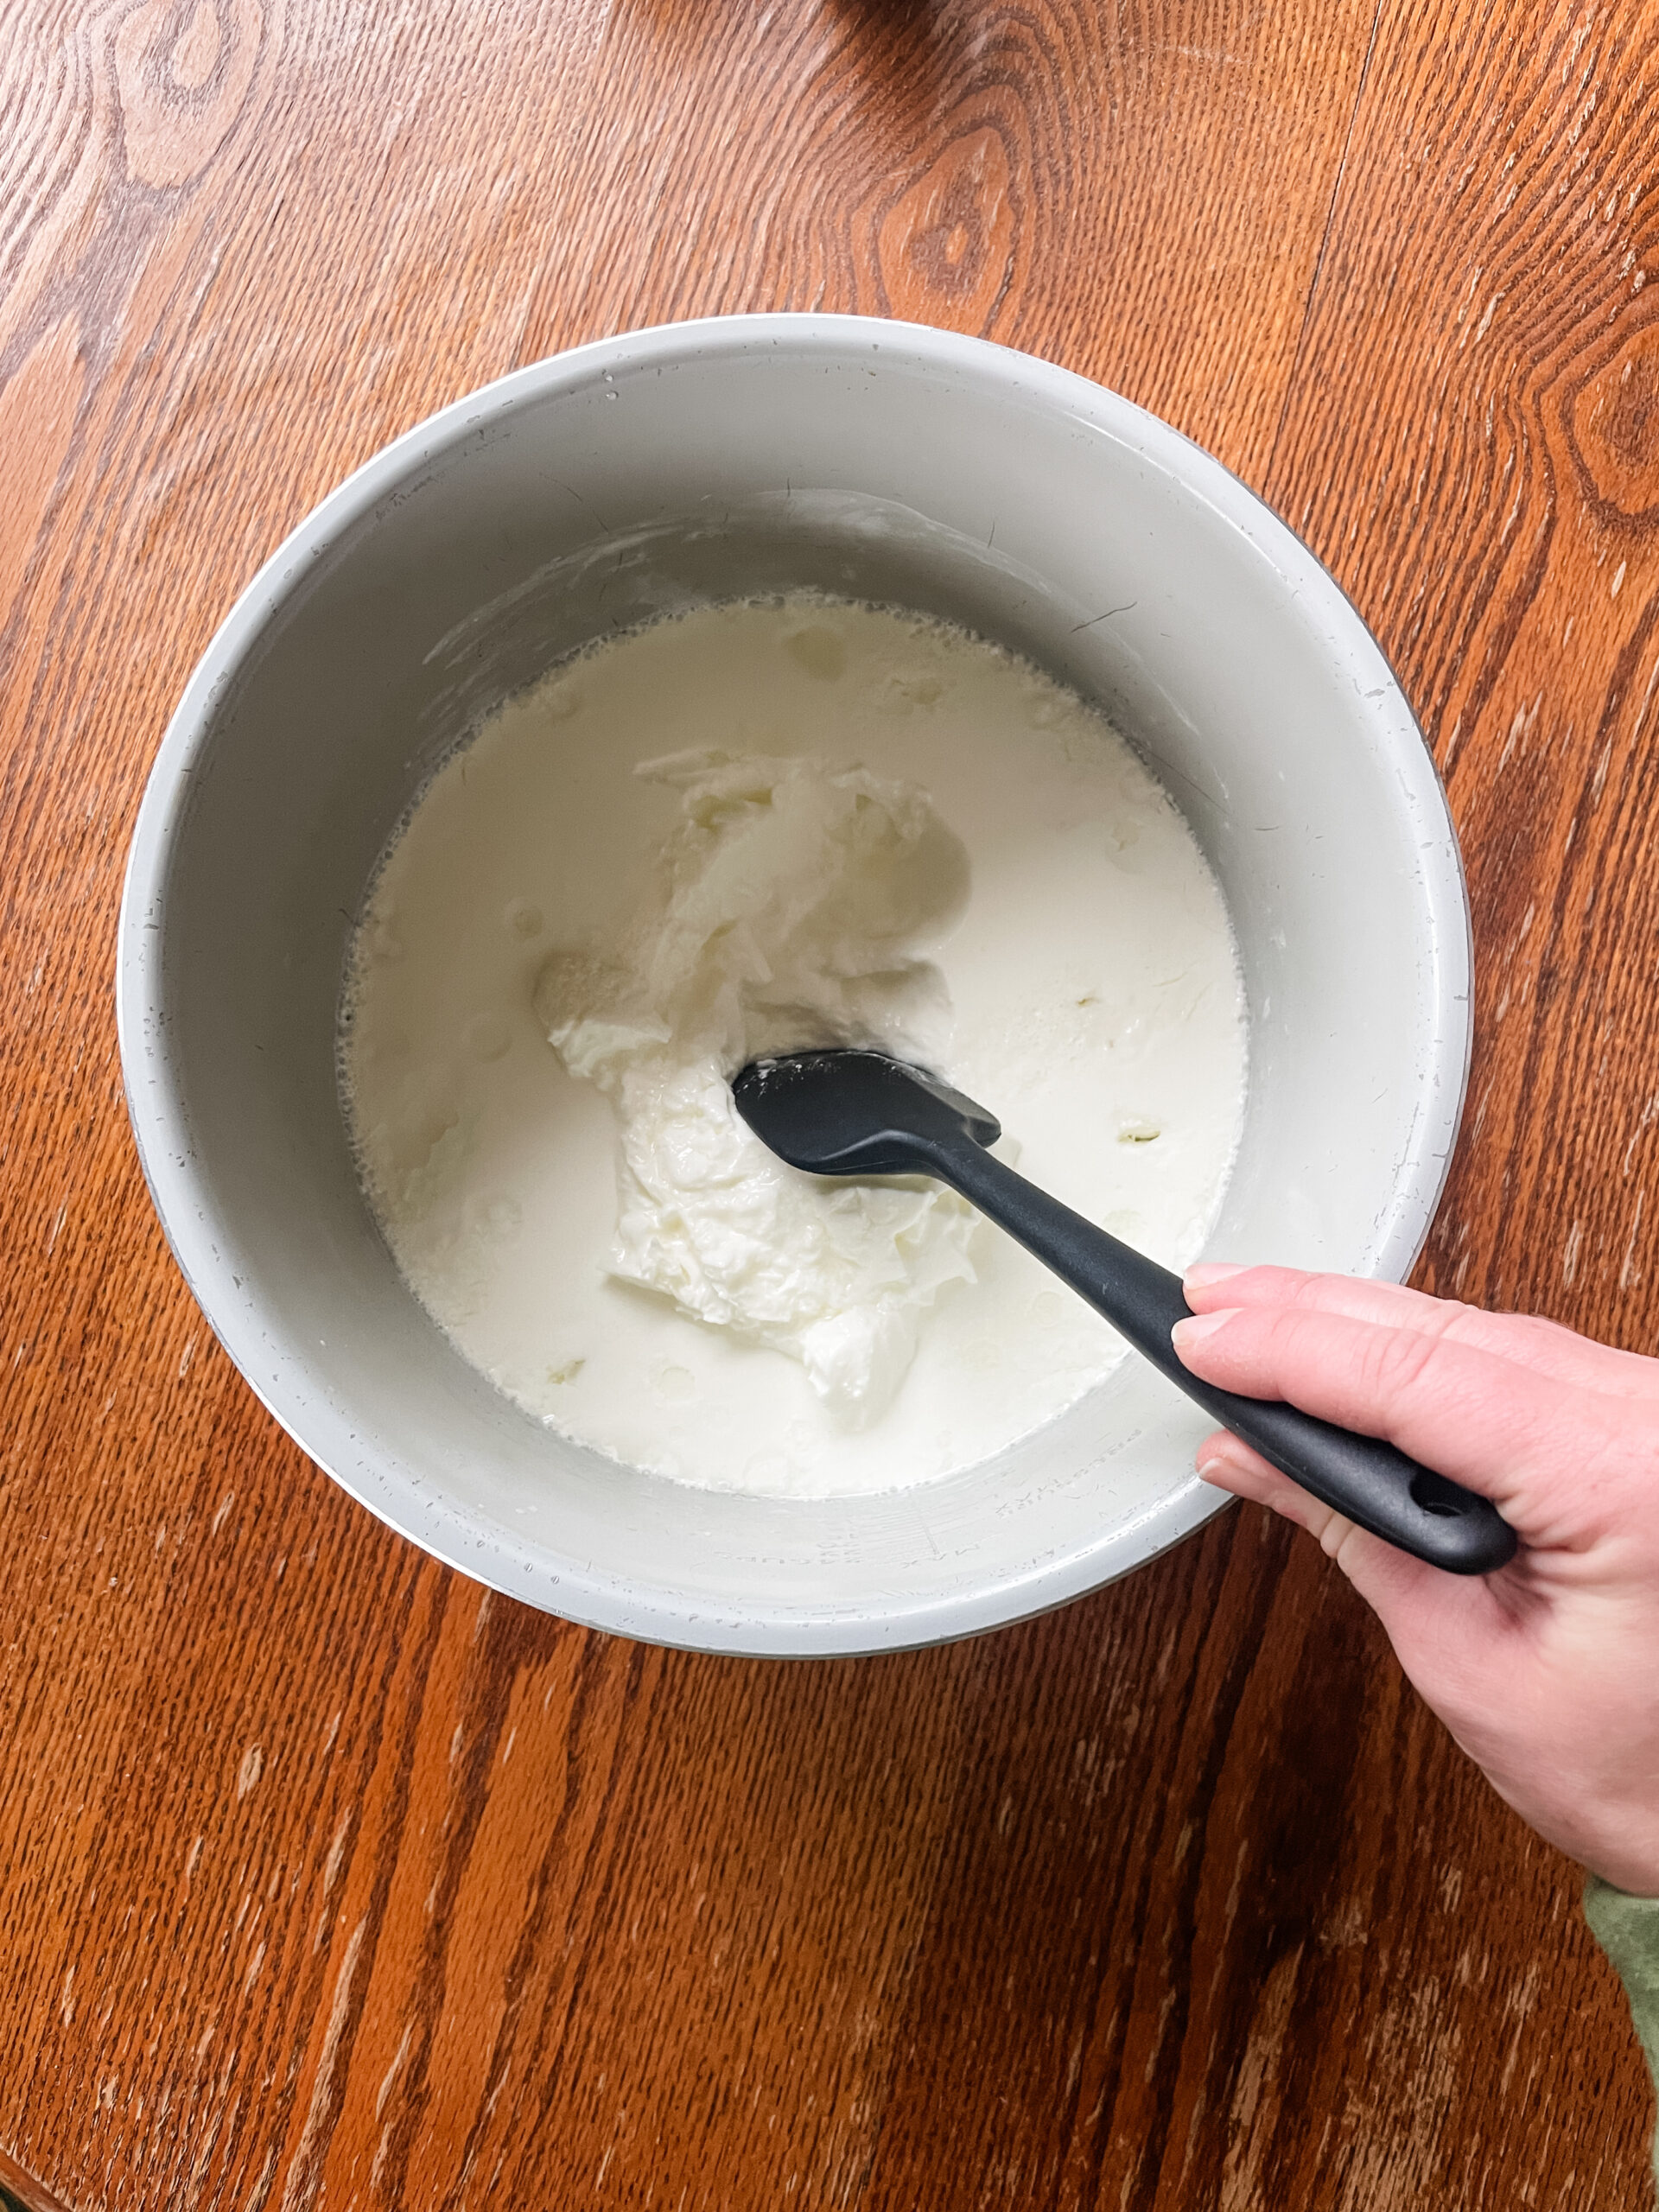
Step 6: Whip the yogurt
Once the yogurt has chilled and they whey has drained out, I like to whip it with my hand mixer, adding back some of the whey until the consistency is how we like it.
Which method should I use for making homemade yogurt?
There are a few different ways you can do this, use what you have, try different methods, and stick with whichever method you like best.
Crockpot method
When I first started off making yogurt, I used the crockpot, which is a super hands off way to do it, but it does take several hours for the milk to heat to temperature. The biggest advantage of using this method is it is almost impossible to scorch the milk, something that happens super easily with a heavy bottom pan.
Once the yogurt heats and then cools, you’ll still stir in the yogurt starter and then incubate it. You can do this in either the the oven with the light on or wrap the crockpot in a towel and place it in a hard-sided cooler.
Stovetop method
The stovetop method is one that anyone has access to. The tricky part about this method is that it is super easy to scorch the milk, which essentially ruins the batch. Don’t ask me how I know.
Once the yogurt heats and then cools, you’ll stir in the yogurt starter and then incubate it. You can do this in either the the oven with the light on or wrap the crockpot in a towel and place it in a hard-sided cooler.
Instantpot method
If you have an Instant Pot or a Ninja Foodie, making yogurt from scratch is super simple. The yogurt setting on these devices makes it super easy because it will heat the milk for you and then keep it the perfect temperature to ferment.
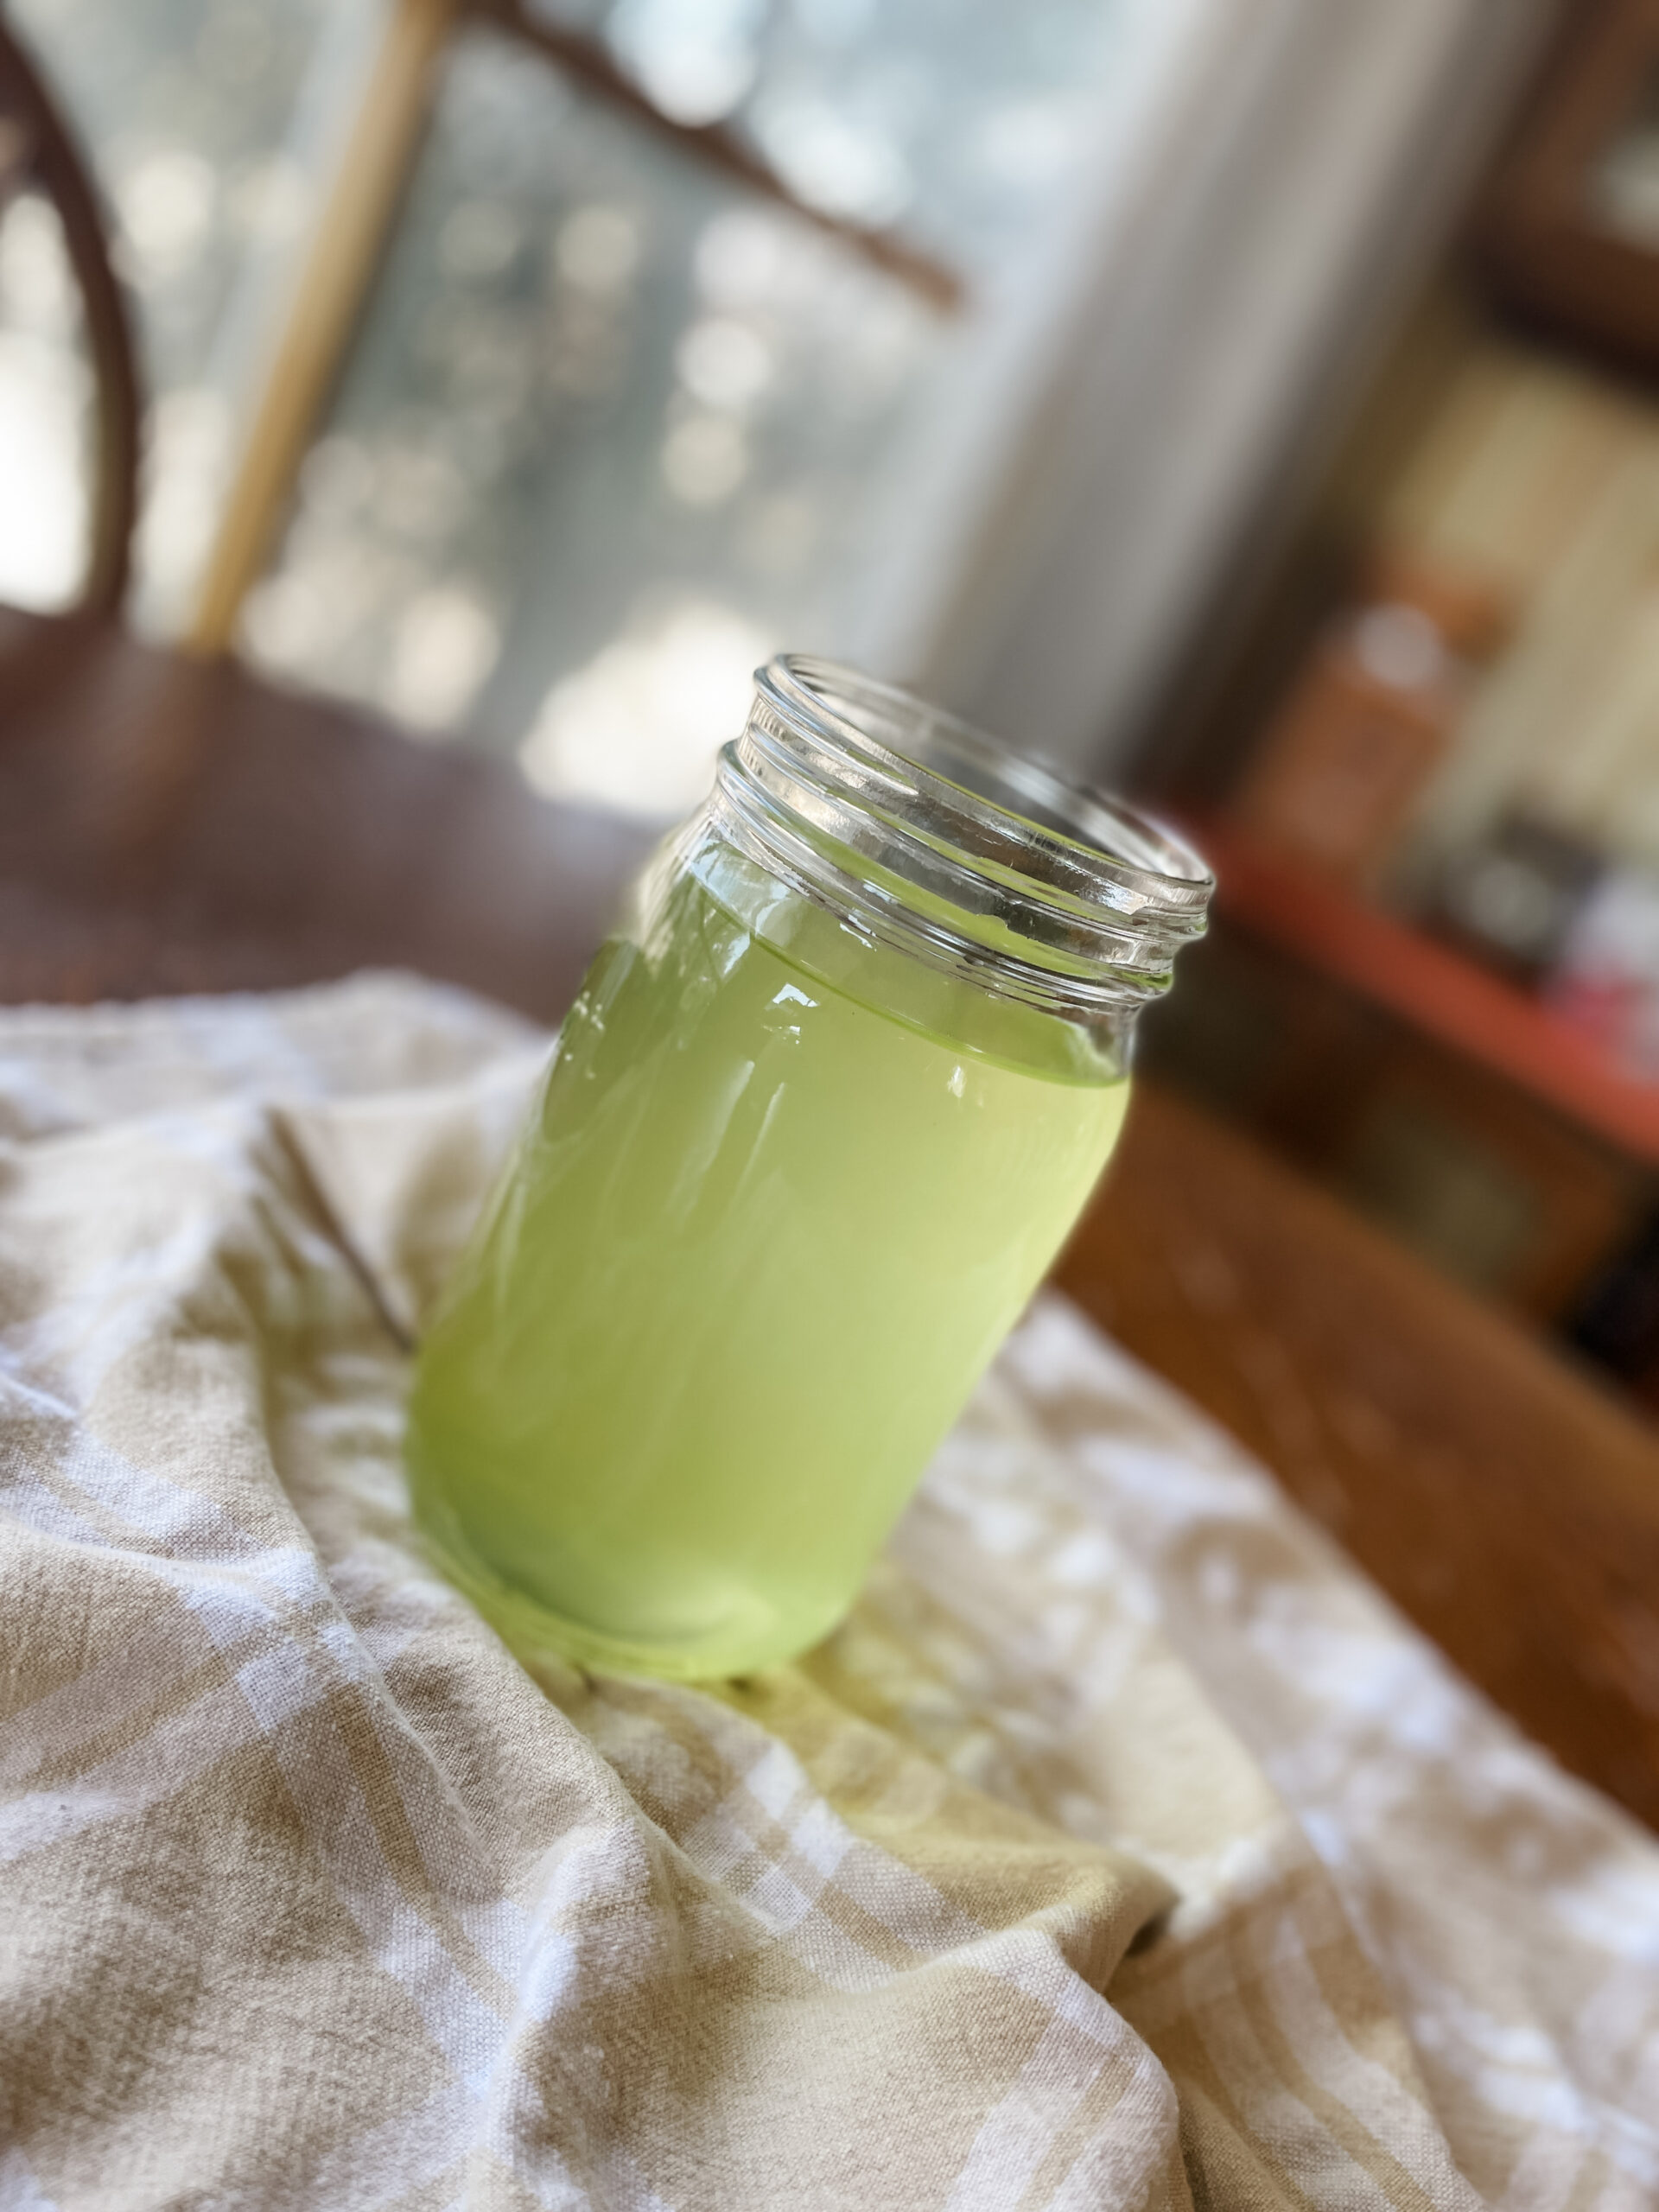
What do I do with the whey?
If you are straining off the whey from your yogurt — don’t throw it away! The whey is full of nutrients and probiotics. I love to keep it in the fridge in a jar and then use it in baked goods, pancakes, and muffins in place of the water or milk. You can also soak beans and grains with the whey, which is a fantastic way to get the benefits of the whey.
troubleshooting Homemade yogurt
Why is my yogurt runny? If your yogurt is too runny, or didn’t set at all, try letting it incubate for another couple of hours. I have had a handful of batches that didn’t set and after another 6-8 hours of incubation, it finally set and was perfect.
Can I reuse my yogurt as starter? Yes! Save about 1/4 cup of your yogurt and use it for the next batch. In general I have found this to work for 3-4 batches and then it doesn’t always set properly.
My yogurt is grainy or lumpy, what did I do wrong? This can happen if the milk heats too quickly. Try beating it with a hand mixer to make it creamy again.
Why did my yogurt separate? It is common to see some separation during incubation. You can incorporate this back into the yogurt or strain it off.
Creating a yogurt making rhythm
When it comes to making homemade yogurt, one of the best things you can do is to create a rhythm and then stick with it. Once you get in the rhythm, you will find you just do it without thinking about it.
The overnight rhythm
This is a great way to do it if you want to have fresh yogurt for breakfast or don’t want another thing to do in your afternoon. After dinner, start the milk to heating, cool it and add your starter, and then allow the milk to incubate overnight. In the morning you will have fresh yogurt waiting for you.
The daytime rhythm
This is the way I prefer to do my yogurt. I start the fermentation process in the morning and then pour it into my cheesecloth strainer in the late afternoon. I then move it to the fridge and allow it to drain and chill all night long. The following morning I whip it up, adding some of the whey back in until it’s the desired consistency.
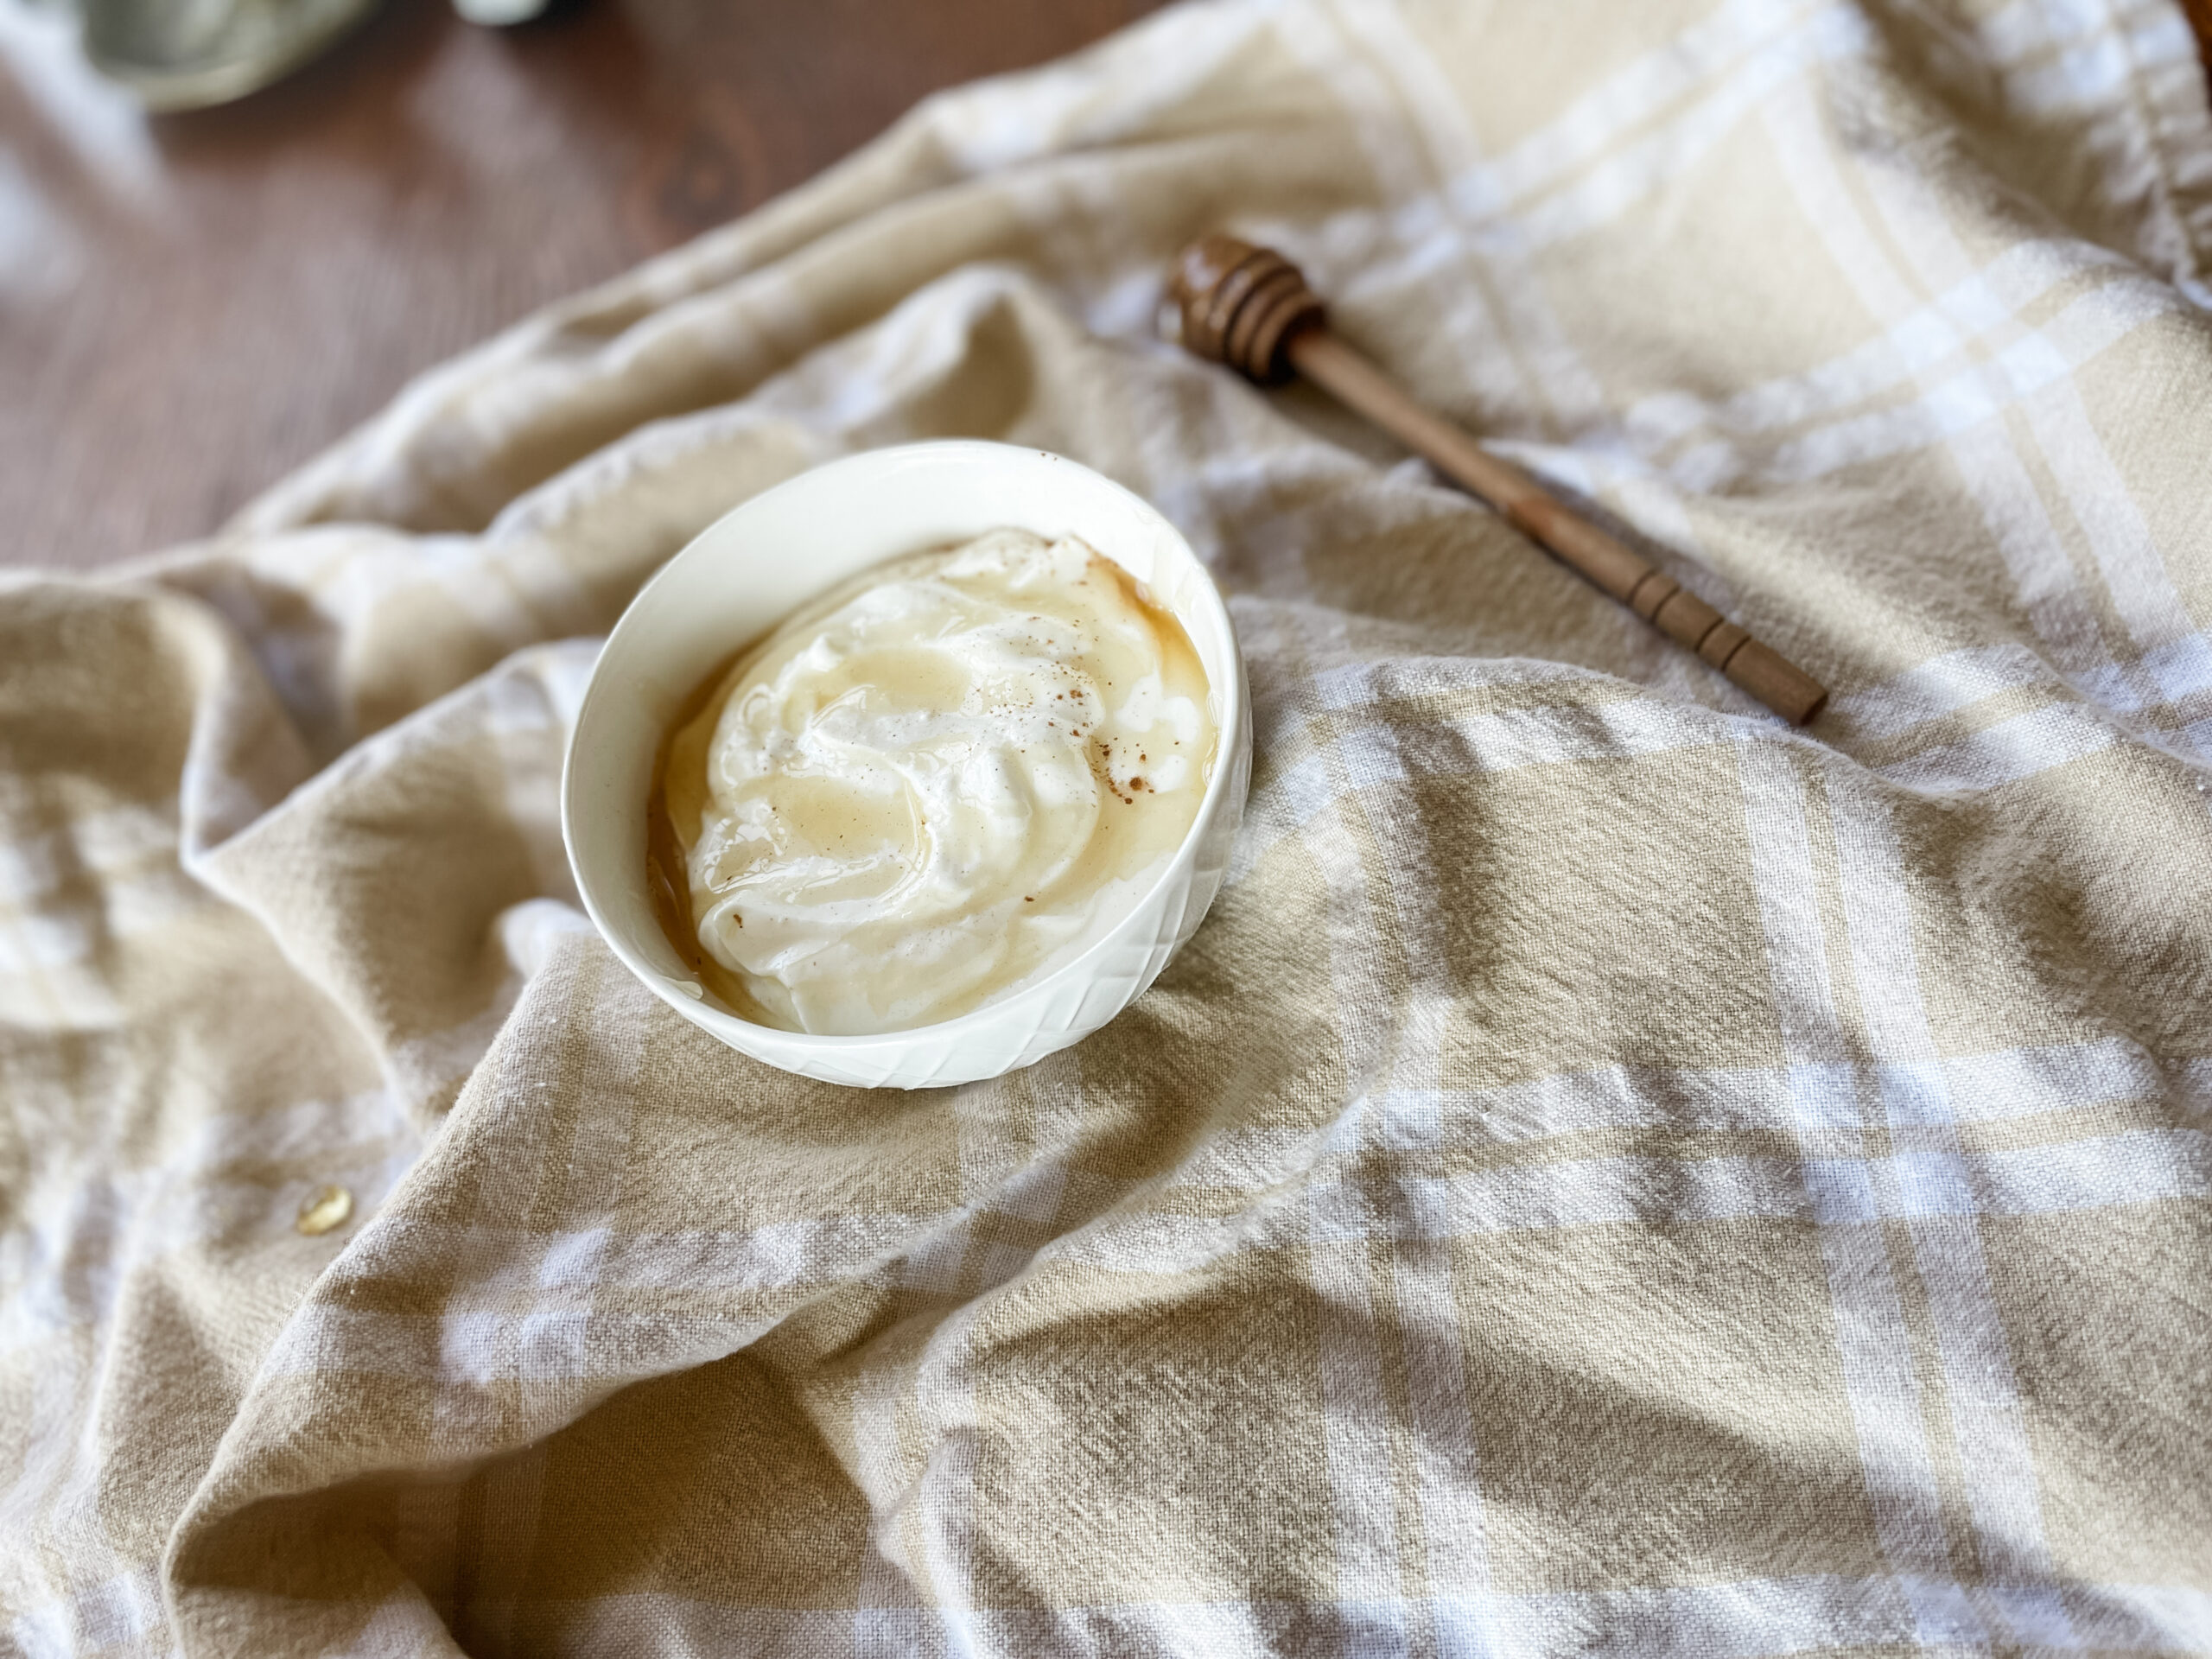
How to use homemade yogurt
There are countless ways to use yogurt and it is truly a staple in our house. Here’s just a few ideas:
- Yogurt parfaits with fruit and homemade granola
- Smoothies
- Frozen yogurt bark
- As a substitute for sourcream
- Homemade ranch
- Tzatziki sauce
- Add to muffins and pancakes for more protein
- Marinate chicken
Conclusion
Homemade yogurt is truly superior in taste and quality and once you’ve started, you won’t want to go back! This is truly such a simple kitchen skill to add to your rhythms and I hope you’ll give it a try. Be sure to let me know if you do and what you think!
How to Make Homemade Yogurt
Ingredients
Method
- Heat the milk to 180 degrees using your preferred method.
- Allow the milk to cool to 110 degrees.
- Stir in the yogurt starter culture.
- Allow to incubate in a warm place for 6-8 hours or until set.
- Pour the yogurt through a cheesecloth or tea towel and allow to drain.
- Chill the yogurt.
- Using a hand mixer, beat the yogurt until creamy, adding back in whey until it reaches desired consistency.
- Store in the refrigerator for up to two weeks.
Notes
- You can use a yogurt starter culture such as this one or use store bought greek yogurt, just be sure it includes live active cultures.